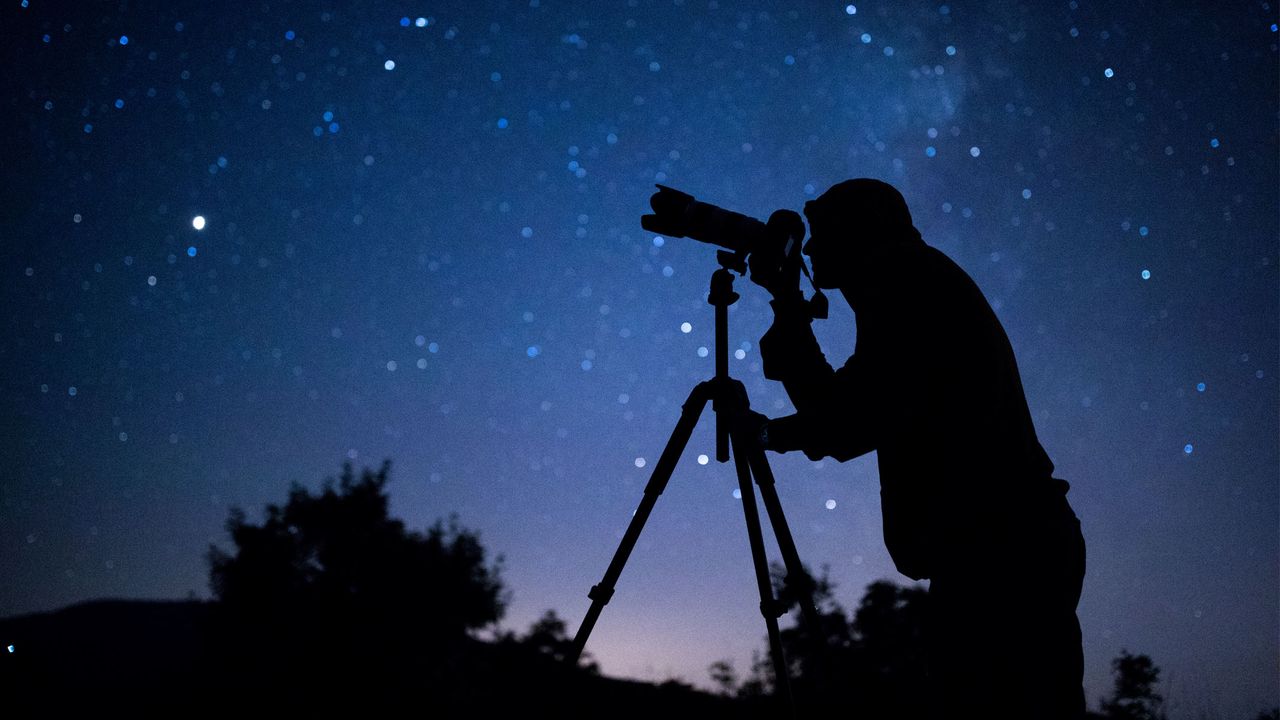
Astrophotography is experiencing a remarkable rise in popularity, particularly among younger generations, including Gen Z. This hobby, which involves photographing celestial events and objects, presents both challenges and rewards. As night falls and the stars emerge, photographers must shift from automatic settings to manual configurations, learning to navigate long exposures, focus adjustments, and the dynamic nature of the night sky.
Astrophotography encompasses various techniques, ranging from simple tripod-mounted shots to advanced deep-sky imaging with telescopes. The choice of method depends on the intended subjects, the amount of equipment one is willing to carry, and the time dedicated to mastering the craft. Below, we outline five common approaches to astrophotography, along with practical advice for beginners.
Smartphone Photography: A Simple Starting Point
For those new to astrophotography, starting with a smartphone is a practical option. Many flagship smartphones now feature advanced night modes that excel in capturing stars, the Milky Way, and auroras. While a smartphone’s capabilities are somewhat limited due to its smaller sensor and fixed lens, shooting in RAW format can enhance image quality.
To improve results, investing in a universal smartphone clamp and tripod is advisable, yet many users often overlook this step. Despite the limitations, smartphones serve as a reminder that technique often outweighs equipment in this art form.
Using a Mirrorless or DSLR Camera
A significant number of astrophotographers begin their journey using a mirrorless or DSLR camera mounted on a sturdy tripod. This method remains one of the most versatile and rewarding ways to capture the night sky. With a high-quality camera, a wide-angle lens set to its widest aperture, and proper timing, it is possible to photograph stunning starry skies and the Milky Way, particularly from April to September.
Exposures are typically limited to 25-30 seconds to avoid star trailing. Emphasizing composition by pairing the sky with interesting foreground elements, such as landscapes or city skylines, can enhance the overall impact of the images. Always shooting in RAW can facilitate easier post-processing.
Advancing with Star Trackers
Once the fundamentals are mastered, many photographers explore specialized equipment like star trackers. These compact motorized mounts rotate in sync with the Earth’s rotation, allowing for longer exposures without star trailing. As a result, images of celestial objects become brighter and more detailed, revealing fainter structures such as nebulae and galaxies.
Exposure times can extend to several minutes, with the possibility of lowering ISO settings for cleaner images. However, proper polar alignment is essential before shooting, which can be challenging depending on the observer’s location—particularly in the Northern Hemisphere where locating Polaris (the North Star) is necessary.
Smart Telescopes for Easy Use
For those seeking a more user-friendly option, smart telescopes integrate various components into a single unit controlled via smartphone or tablet. These systems combine a small telescope, image sensor, motorized mount, and image-processing software, enabling users to capture multiple short exposures. The telescope automatically stacks these images to enhance detail and color, making it easier to observe deep-sky objects.
Smart telescopes are particularly beneficial in light-polluted areas, allowing users to achieve satisfactory results quickly. While they sacrifice some creative control, their ease of use can be appealing for beginners or those with limited time.
Deep-Sky Imaging for Advanced Photographers
For those aiming for high-quality images of deep-sky objects, a more sophisticated setup is necessary. This typically involves a telescope, an astronomy camera, and a laptop, requiring a commitment to dark skies and favorable weather conditions. With this setup, small, faint celestial bodies such as distant galaxies and planetary nebulae can be captured in stunning detail.
These configurations often include an equatorial mount, guiding systems, filters, and specialized software, demanding significant technical knowledge and preparation. While they require a substantial investment of time and resources, the results can be truly breathtaking.
Mastering the Basics of Astrophotography
To achieve great results in astrophotography, one must master the basics. Start by switching your camera to manual mode and shooting in RAW. Using a tripod, set your lens to its widest aperture, typically between f/1.4 and f/2.8. Focus manually on a star or distant light, ensuring it appears sharp and small.
Finding the right balance between ISO and shutter speed is crucial. A good starting point is ISO 800, but modern cameras can often handle much higher settings. Shutter speeds may range from 10 to 25 seconds, depending on the lens’s focal length. Once the optimal settings are determined, consider incorporating compelling foreground elements into your composition for added interest.
A versatile hybrid setup can enhance your astrophotography experience. A mirrorless camera paired with a fast wide-angle lens and a tripod can serve well for both daytime and nighttime photography. As skills improve, progressing to a star tracker can further expand possibilities in astrophotography, allowing enthusiasts to delve deeper into capturing the wonders of the night sky.
Regardless of whether one begins with a smartphone, a tripod-mounted camera, or a smart telescope, the foundation of exceptional astrophotography remains consistent—dark skies, patience, thoughtful composition, and practice under the stars.